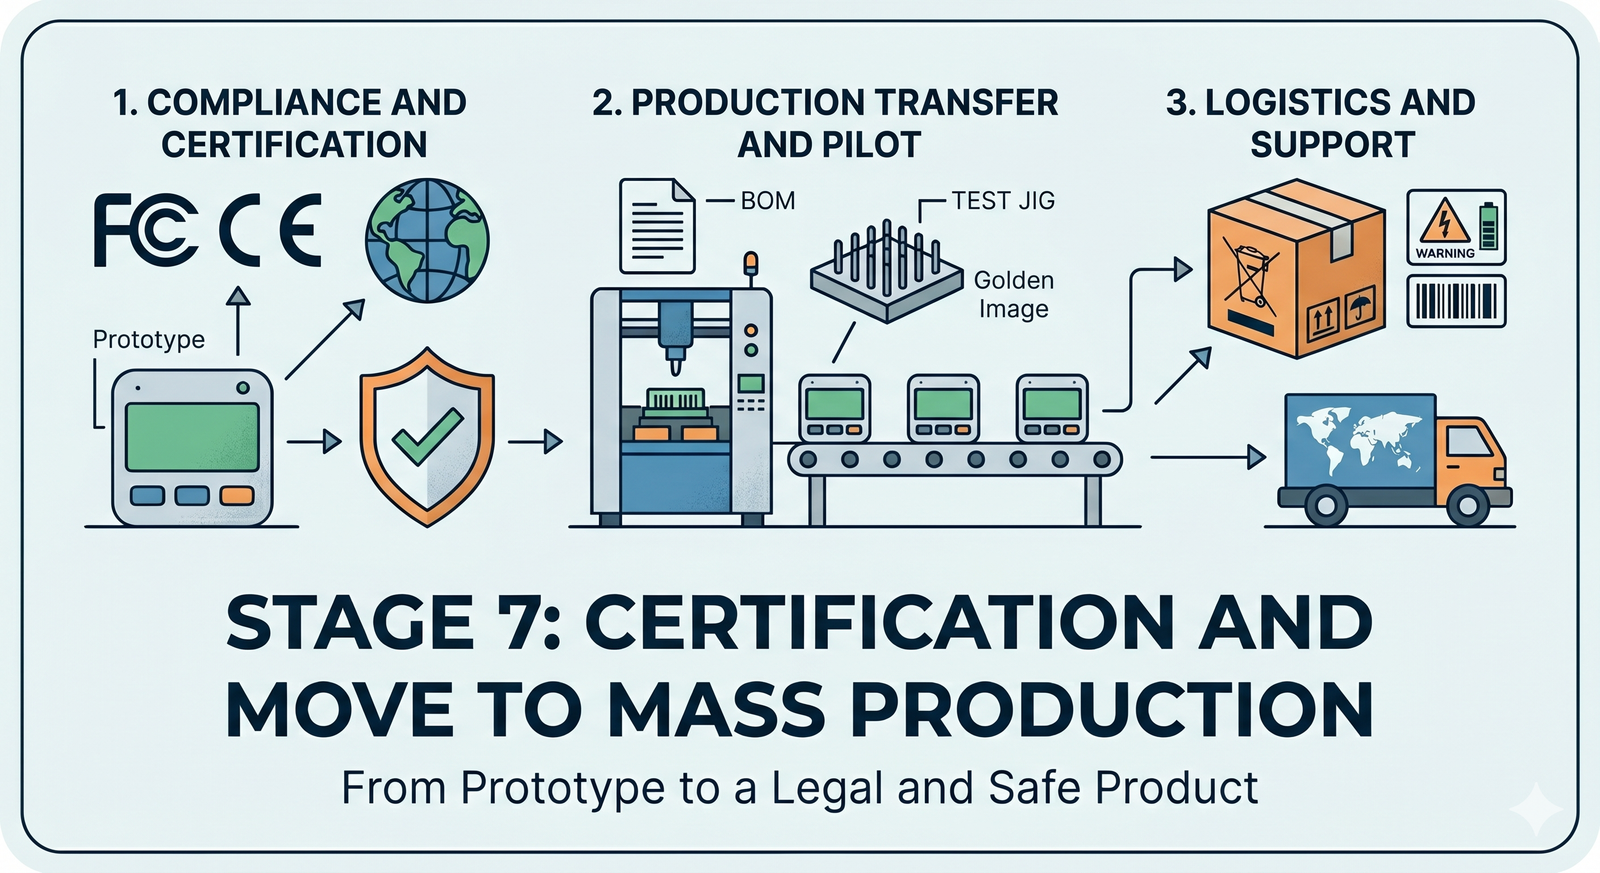
Congratulations – we’re almost at the finish line of development! Stage 7 is all about preparing for the official launch and mass production of your IoT product. Up to now, you’ve been focused on making sure the device works – now it’s time to ensure it also plays by the rules. That means meeting all external requirements (laws, regulations, industry standards) and setting up a smooth path to manufacture at scale. It’s a mix of paperwork, lab tests (yes, more tests!), and planning for mass production. Not as glitzy as writing code or designing circuits, perhaps, but absolutely crucial. Think of it as the final quality gate that turns your cool prototype into a real product people can buy and use safely and legally.
Regulatory Compliance & Certification
Before your device can hit the market, it must obey the law of the land(s) where you sell it. Regulatory compliance is about proving your gadget won’t break radio laws or wreak electromagnetic havoc. For example, if your IoT device uses radio frequencies (Wi-Fi, Bluetooth, cellular, etc.), you’ll likely need approval from bodies like the FCC in the USA and CE (Conformité Européenne) marking in Europe, among others. These certifications ensure your device doesn’t interfere with other electronics and stays within legal emission limits. It’s not just a bureaucratic hoop – it’s literally about not knocking planes out of the sky or messing up your neighbor’s TV signal (extreme case, but you get the idea!).
Inside an RF anechoic test chamber, engineers verify that an IoT device meets radio frequency emission standards. Anechoic chambers are shielded rooms lined with electromagnetic-absorbing material, providing a controlled environment for compliance testing.
Why go through all this? Because skipping compliance can lead to disastrous consequences. Regulators can hit you with hefty fines (missing even one required certification or label can mean penalties over $150,000 per violation), and they can bar your product from being sold at all. In fact, many retailers or distributors won’t even carry your product if it lacks the proper FCC, CE, or other certification marks – instantly shrinking your market. There’s also the risk of forced product recalls or stop-sales if a competitor or inspector reports you. Picture this: you’ve happily shipped your first batch of devices, and suddenly you have to halt everything because an inspector asks for your test results and notices no certification labels. Not fun. You’d be scrambling to get emergency testing done, paying rush fees, and possibly redesigning on the fly if something fails. This nightmare scenario has happened in real life, and it always costs more time and money than doing things right upfront. The bottom line is that compliance is about protecting your business and your customers – it proves your device is safe and won’t cause trouble in the wild.
So, what kind of certifications might you need? It depends on your product’s functions and target markets:
- RF Emissions (FCC, CE/RED, IC, etc.): If your device contains any radio transmitter or even a microprocessor that emits radio noise, it must meet radio frequency (RF) emission standards. In the U.S., FCC Part 15 rules usually apply, dividing devices into Class A (industrial) or Class B (residential) with limits on emissions. The FCC tests check that your gadget isn’t spewing out radio energy beyond allowed levels and not interfering with other devices. Canada’s IC (Industry Canada) is similar to FCC, and often testing can be done together. In Europe, the Radio Equipment Directive (RED) and EMC Directive are key; passing them allows you to mark the product with the CE symbol (a legal must-have for electronics in EU). Each country or region has its nuances – e.g. UKCA for the UK post-Brexit, VCCI for Japan, RCM for Australia – so you’ll need to research based on where you launch.
- Pre-Certified Modules: One saving grace: if you built your device using pre-certified radio modules (say a Wi-Fi or cellular module that’s already certified), you can leverage that to simplify testing. It’s not a free pass, but it can expedite or reduce the certification tests needed for your final product. Essentially, the module’s own certification covers the radio part, as long as you integrate it in a compliant way. (You still have to ensure your overall device doesn’t do something crazy like use the module in an unintended manner or with an antenna that violates conditions.) Pro tip: Doing optional pre-scans in Stage 6 was wise – walking into the formal certification lab cold is like taking a final exam without any practice tests. It’s better to catch and fix issues (like that one spurious emission at 2480 MHz) before the official lab test.
- EMC Testing: Even if your product is not intentionally transmitting radio waves, it must pass EMC (Electromagnetic Compatibility) tests. These ensure it doesn’t emit excessive electromagnetic noise that could affect other devices, and that it’s sufficiently immune to outside interference. In other words, your IoT sensor shouldn’t freak out or reset when someone nearby operates a blender or two-way radio. EMC tests cover radiated emissions (noise through the air), conducted emissions (noise on power lines), and immunity to surges, ESD (static zaps), etc. Certifications like CISPR 22/32 (for IT equipment) or EN 301 489 (for radio device EMC in Europe) might apply. The lab will stick your device in an anechoic chamber or use antennas and probes to measure all this. It’s quite the science fair experiment – but necessary to earn that stamp of approval.
Getting through regulatory testing often means filling out forms, paying lab fees, and shipping a few prototype units off to an authorized lab for a couple of weeks. Plan for this in your schedule. It can take multiple rounds if things fail and need fixing. But once you have that FCC/CE/etc certificate in hand, you can proudly slap those logos on your product and know you’re clear to sell. You’ll also create a compliance folder with all test reports and a signed Declaration of Conformity (for CE) to keep on file – think of it as your product’s “passport” proving it’s a law-abiding citizen in gadget-land.
Safety Certifications
Regulatory compliance is one side of the coin; safety certification is the other. This is about making sure your device won’t physically harm users or their property. Different products have different safety standards, but here are common ones:
- Electrical Safety (IEC/UL Standards): If your product plugs into mains power or has a rechargeable battery or basically does anything with electricity that could shock, burn, or catch fire, there are established safety standards. For consumer electronics and IT devices, IEC 62368 (and its UL equivalent in the US, UL 62368) is the modern safety standard replacing the older 60950 and 60065 standards. It covers everything from making sure the plastic enclosures won’t melt or ignite under fault conditions, to requiring proper insulation and isolation on high-voltage parts, to controlling temperature of accessible surfaces. If your IoT gadget is more specialized (like lab equipment, industrial controllers, etc.), other standards might apply (e.g. IEC 61010 for laboratory equipment, or IEC 60204/ISO 13849 for machinery safety). To get certified, you might need to send units to a safety lab (like UL or TÜV) where they will literally try to abuse your device – shorting things, overloading it, poking it with finger probes – to ensure it fails safely (e.g. blows a fuse without electrocuting the test dummy). Be prepared: meeting safety standards can force design changes. Common tweaks include adding fuses or thermal cutoff switches, widening PCB creepage distances, using flame-retardant materials, and adding warning labels for users. It’s all about preventing electric shocks, fires, and injuries. Boring? Maybe. Important? Definitely – it’s way better than seeing your product on the evening news because it caused a house fire or gave someone a nasty jolt.
- Battery and Charging Safety: If you use lithium batteries (common in IoT devices), there are specific safety tests (UN 38.3 for transport, UL 1642/IEC 62133 for device battery safety, etc.). These ensure batteries won’t explode or leak under normal and some abuse conditions. Airlines and shippers will also require you to certify that your lithium batteries meet UN 38.3 standards before they’ll transport bulk quantities. So don’t skip the battery testing – lithium energy is amazing, but as some hoverboard and smartphone incidents showed, it can be dangerous if not properly contained.
- Specific Use-Case Standards: Depending on application, there may be additional safety certifications. For example, a smart thermostat or a medical wearable might need UL 60730 or FDA approval respectively for functional safety (ensuring a failure doesn’t put people at risk). An industrial IoT sensor that could trigger machinery might need to comply with functional safety standards (ISO 13849 or IEC 61508 SIL ratings) to guarantee it fails in a safe manner. If your device is going into cars, automotive-grade requirements (like ISO 26262 for functional safety, or E-mark for automotive electronics) could be mandatory. These are deep topics on their own, but the takeaway is: understand your domain’s safety expectations and plan to meet them. It’s part of being a responsible product developer – you want your device to be as safe as possible for users.
In practice, getting a safety certification means documentation and testing. You’ll prepare a lot of design documents (schematics, PCB layouts, part datasheets) for the safety engineers to review. They might conduct tests like hi-pot (high potential) where they apply high voltage to ensure insulation holds up, or drop tests to check enclosures. If something fails, you’ll need to fix the design and possibly retest. This process can take time – often parallel it with regulatory testing to save overall calendar time. Once you pass, you can mark your device with the safety logos (like the UL mark) and sleep better at night knowing your product won’t turn into a safety hazard.
Environmental and Other Certifications
Beyond radio and safety, there’s a grab-bag of other certifications and compliances often needed for electronics:
- Ingress Protection (IP Rating): Planning to call your device “waterproof” or “dustproof”? You’ll want an IP rating to back that up. The IP code (like IP67) is an official way to state resistance to solids and liquids. For example, IP67 means dust-tight and water resistant to immersion at 1m for 30 minutes. To certify this, you might send units for testing where they blow talcum powder at it and dunk it in water. If you claim any ruggedness in marketing, better have the certification so customers and partners trust it. It’s also just good practice – you don’t want early users finding out the hard way that their “outdoor sensor” wasn’t actually weather-proof.
- RoHS (Restriction of Hazardous Substances): RoHS is a big one globally (especially EU) – it restricts the use of certain toxic substances (like lead, mercury, cadmium, certain flame retardants) in electronics. By the time you’re manufacturing, you should ensure all your components and solders are RoHS compliant. Most modern components are, but if you used something old-school (like a leaded solder or an old part with lead in plating), you might need to swap it out. Getting RoHS certification often involves collecting declarations from all your part suppliers confirming they don’t contain the banned substances. Without RoHS, you can’t legally sell in Europe and many other regions. In fact, earning the CE mark inherently requires RoHS compliance – the CE mark indicates the product meets safety, health, and environmental requirements, including RoHS for hazardous materials. So don’t treat this as optional. The good news is it’s usually not too painful if you’ve sourced parts wisely.
- WEEE (Waste Electrical and Electronic Equipment): In Europe, if you sell electronics, you also need to comply with WEEE directives, which basically require you to label products with the “crossed-out trash bin” symbol and possibly provide take-back or recycling programs. This symbol signals to users not to toss the gadget in regular trash when it dies, but to dispose of it in e-waste recycling. There’s not a test for WEEE, but it’s a legal labeling and registration requirement. Each country may require you to register and report volumes of electronics sold for recycling purposes.
- Chemical and Environmental Regulations: If your device has a battery, many countries require a battery recycling symbol or documentation. If your device uses wireless in certain bands, places like Japan or South Korea have specific certification marks (telecom regulatory approvals) that you might need to get – often by submitting paperwork or additional testing in-country. If you’re selling to consumers in California, you may need to consider Proposition 65 (which mandates warning labels if your product contains any listed harmful chemicals – often this affects things like if your product has a brass connector with lead, you need a warning label in CA). While these are not “functional” tests, they are legal requirements to plan for.
In short, now’s the time to handle all these boxes to check: from making sure you can legally ship your product (hazmat documents for batteries) to ensuring all required recycling and restriction symbols are on your product or packaging. It may feel like tedious bureaucracy, but each certification or compliance step exists for a reason – be it protecting the environment, users, or the public. By handling it in Stage 7, you avoid nasty surprises like your shipment being held up in customs because a required mark or document is missing.
Manufacturing Handoff (From Prototype to Production)
While your engineering team wrestles with certification paperwork and tests, you should also be gearing up to build your product at scale. This is the point where you transition from a development/prototype mindset to full production mode. It involves coordinating with your manufacturing partners (or in-house production team) and making sure everything is in place for an efficient production line. Key tasks include:
- Finalize the Bill of Materials (BOM): By now, you need a rock-solid BOM with manufacturer part numbers for every component. Double-check that all parts are available in the volumes you need and have second-source options for any critical or long lead time parts. Nothing is worse than planning a 10,000 unit build and discovering a key chip is backordered for 52 weeks. Work with your supply chain folks or Contract Manufacturer (CM) to secure inventory or find alternates. Also lock down the PCB fabrication files and assembly drawings – these are the blueprints your manufacturer will follow to procure bare PCBs and assemble the components.
- Assembly Line Setup: If you’re working with a CM, you’ll provide them with all the manufacturing data: the Gerber files (PCB design files), the pick-and-place files (which tell the machines where to put each component), and an Assembly Instruction document. The CM will program their pick-and-place machines to populate your boards. Modern automated lines can place components incredibly fast and accurately. Pick-and-place machines will grab tiny resistors, chips, etc., and place them onto the PCB solder paste with precision. (Watching one in action is mesmerizing – a blur of components flying onto boards in seconds. A modern pick-and-place machine, like the open-source model shown above, uses programmed coordinates to rapidly place electronic components onto PCBs.) After placement, the boards go through a reflow oven to solder everything in place. You might also need processes like wave soldering for any through-hole parts, or hand assembly for any odd parts that machines can’t do. Part of Stage 7 is ironing out these processes with the manufacturer. They might do a DFM (Design for Manufacturability) review and come back with suggestions – e.g. “move these test pads” or “that USB connector is hard to solder, maybe tweak the footprint.” Be open to their feedback; it can save a lot of headaches in production.
- Production Test Fixtures (Jigs): Remember in Stage 6 we talked about testing and maybe even built a basic test jig for development? In manufacturing, testing each unit (or at least each batch) is critical for quality control. You’ll typically design a test fixture – often called a “bed of nails” tester – that the assembled boards plug into or sit on for testing. This fixture will have pogo pins (spring-loaded contacts) that touch test pads on your PCB, allowing quick electrical testing of all the important signals. When a board is placed in the jig, you can automatically flash the firmware onto it (the final production firmware, often called the golden image because it’s the verified version), and run a test routine. The test might check: do all sensors read within expected range? Does the radio connect? Do LEDs light up? Does pushing a button register correctly? All these can be automated with a combination of test software and maybe some custom circuitry in the fixture. For example, if your device has a microphone, the fixture might have a small speaker to play a test sound and see if the mic picks it up. Designing a good test fixture is an art – it needs to be robust, easy for factory workers to use, and cover as much of the device’s functionality as feasible. The goal is to catch any assembly defects (like a mis-soldered pin or a bad component) before the product leaves the factory. It’s much cheaper to fix a unit while it’s at the factory than to handle a customer return later.
- Provisioning and Calibration: Many IoT products need per-unit data programmed in. This could be calibration data (maybe each sensor is calibrated and the values stored in flash), or security credentials like keys and certificates for cloud connection. Stage 7 is when you implement the system to inject these during production. For instance, you might generate a unique ID and key pair for each device and flash it at test time, then upload the public keys to your cloud database so the device can authenticate later. Security is paramount here – you need to ensure the process is secure so that keys aren’t intercepted or duplicated. Sometimes manufacturers offer secure programming services or you might use an HSM (Hardware Security Module) to manage keys. Either way, plan this out thoroughly. It’s easy to overlook, but a secure provisioning process means your devices will be trustworthy and not easily cloned or hacked. Many a rushed product has fallen victim to hackers because of sloppy key handling – you don’t want your IoT camera to become part of a botnet due to a default or leaked credential.
- Manufacturing Documentation: Alongside hardware, prepare the paperwork that guides the assembly and quality process. This includes assembly drawings (showing how the device is put together mechanically), and an inspection criteria document. The inspection criteria defines what counts as an acceptable unit versus a reject. For example, you might allow minor cosmetic scratches on an internal PCB, but not on an external casing. Or you’ll specify that a solder joint must not have excess solder beyond a certain amount. This helps the factory’s quality inspectors know what to look for. Also set the quality control (QC) plan: will you test 100% of units? (Common for complex electronics.) Will you do sample batch inspections? What’s the acceptable failure rate before a batch needs review? Having these plans ensures everyone’s on the same page about quality expectations.
In essence, manufacturing handoff is about translating the knowledge in the heads of your engineering team into a reproducible, scalable process that factory folks can execute. The clearer and more thorough you are now, the smoother production will ramp up.
Pilot Production Run
Before you jump into making tens of thousands of units, it’s wise to do a pilot run (a.k.a. trial run or pre-production run). This could be on the order of 50–200 units – not mass production, but more than just a couple prototypes. The idea is to use this small batch to iron out any last wrinkles.
During the pilot run, you’ll closely observe the manufacturing process: Did any unexpected assembly issues occur? (Maybe that fancy new sensor is tricky to solder and needs a tweak in the reflow profile.) Did the test fixture reveal a lot of failures on a particular test? (Perhaps a certain component is marginal and you need to tighten its tolerance or find a better supplier.) You’ll work with the CM to fine-tune the process. It’s much better to discover and fix these issues in a batch of 100 units than when you’ve committed to 10,000. For example, if the assembly machine was accidentally placing a capacitor backwards, you can catch it in the pilot and update the machine programming, rather than shipping out a huge batch of non-functional devices.
Pilot units are also incredibly useful for other purposes: you can use some for final certification testing (labs often require multiple samples, and these should be production-quality), some for internal verification (make sure the final product off the line still meets all specs and performance metrics), and some for beta testing with friendly users. Those early users can provide feedback on both the product’s function and any packaging or usability issues, giving you a chance to tweak little things before the big launch.
Realistically, you might do a couple of pilot runs (sometimes called EVT/DVT/PVT – engineering validation test / design validation test / production validation test builds) as you approach full scale. Each is a chance to improve. By the end of the pilot build(s), you should have high confidence in your manufacturing line’s ability to produce consistent, quality devices at whatever rate you need.
Logistics and Supply Chain Considerations
With certifications and production lining up, also spare a thought for logistics: getting the product to customers and supporting it afterward. This strays slightly into business territory, but it’s very much connected to product development in practical ways:
- Packaging: How will your product be packaged for sale? This includes the retail box (if applicable), any protective foam or inserts, and accessories like cables or power adapters. As the product architect, you should ensure the packaging is suitable and safe – e.g., anti-static bags for electronics, padding to survive drops during shipping, etc. If you promised a “cool unboxing experience,” now’s the time to design that. Remember to include any required regulatory information in the box or manuals (e.g., FCC/CE statements, warranty info, disposal instructions). Some regions require certain info to be printed in user manuals or quick start guides.
- Labeling and Serial Numbers: Each device should have a unique serial number or identifier, usually on a sticker or laser-marking on the device. This is vital for tracking units, handling returns, and managing firmware updates (you may need to know which batch or version a unit is). Work with the manufacturer to set up a scheme for serial numbers – they can often print and apply serial labels as part of production. Also, all those logos and marks from compliance? Make sure they’re properly placed on the product or its label. For example, FCC ID, CE mark, UKCA mark, the trash-can WEEE icon, FCC/IC statements – these often go on a regulatory label on the device or in the manual. There are guidelines for size and visibility (the CE mark, for instance, must be a certain minimum size and easily visible). Getting this right avoids issues at customs or in audits.
- Shipping and Distribution: Plan how finished goods will get from the factory to warehouses or end customers. If your manufacturer is overseas, factor in transit time, import duties, and regulations. Ensure you have the proper export paperwork – for example, some countries need an FCC certificate on file for customs to clear an electronic import. If your product contains a battery, the shipping carton needs appropriate lithium battery warning labels. These nitty-gritty details can delay shipments if overlooked. On the distribution side, coordinate with whoever will sell or fulfill the product. They might have barcoding requirements or specific box size constraints. It’s a good idea to test a sample shipment: have the factory send you a few units packaged as they would be for mass shipping, and see if everything arrives in good shape and is easy to unpack, scan, etc.
- After-Sales Support Setup: While not exactly part of manufacturing, it’s wise to set up processes for returns (RMA), repairs, and firmware updates at this stage. For returns, decide if you’ll swap units out or attempt repairs – and communicate with the design team if there are any design features to make this easier (like a way to easily reset or reprogram a bricked device). For firmware updates, ensure your cloud service or app can handle updating devices in the field, and that the firmware includes a secure bootloader if relevant. Essentially, imagine the product 6 months post-launch: how will you manage issues? If you have these answers now, you can build in any needed tools or instructions.
Stage 7 might feel like a lot of bureaucracy compared to the creative fun of coding and circuit design. And yes, a chunk of it is about paperwork, checklists, and following rules. But this stage is the critical bridge from a handful of prototypes in your lab to a real, trustworthy product in your customers’ hands. Diligently dotting the i’s and crossing the t’s now will prevent nasty surprises later – whether that’s legal roadblocks, safety hazards, or manufacturing snafus. Plus, you’ll likely sleep better at night knowing your device isn’t going to, say, interfere with aircraft communication or spontaneously combust on a user’s nightstand (imagine finding that out after launch… no thanks!).
By the end of Stage 7, you should have all necessary certifications passed (or in final progress), and a manufacturing plan that’s ready for prime time. Your product is technically and legally ready to launch. That’s a huge accomplishment. Give yourself and the team a pat on the back – but keep the momentum, because the next and final stage is taking this product to market and managing it through its lifecycle (the real world, here we come!).